
Measurement Equipment
What is measurement?
Materials measurement outputs defined values for various properties of materials—an example of this is an analytical balance, which outputs a numerical mass. The Measurement Team conducts testing for tensile and compressive strength, microhardness, contact angle measurement, UV-Vis spectroscopy, density and thermal properties.
The Measurement Team is led by Heidi Goebel. Please contact Heidi for more information!
If there is a specific piece of equipment you would like training on, please email the respective Technical Officer (TO) for that piece of equipment.
The list of Technical Officers can be found here.
Watch our Measurement equipment tutorials here.
Equipment List:
- Instron Mechanical Tester
- Mark-10 Mechanical Tester
- Microhardness Tester
- Differential Scanning Calorimeter (DSC)
- Thermogravimetric Analyzer (TGA)
- Moisture Analyzer
- Infrared (IR) Camera
- UV-Vis Spectrophotometer
- Contact Angle Goniometer
- Analytical Balance
- Viscometer
- Pycnometer
- Abrasion Tester
- Squidstat
- Sonicator
- Homogenizer
- Fumehood
- Centrifuge
Instron Mechanical Tester
Located in Main Lab (169)
SOP: Instron 5967 Mechanical Tester
Wiki: Mechanical Tester
Video: User Tutorial (also on the SOP page)
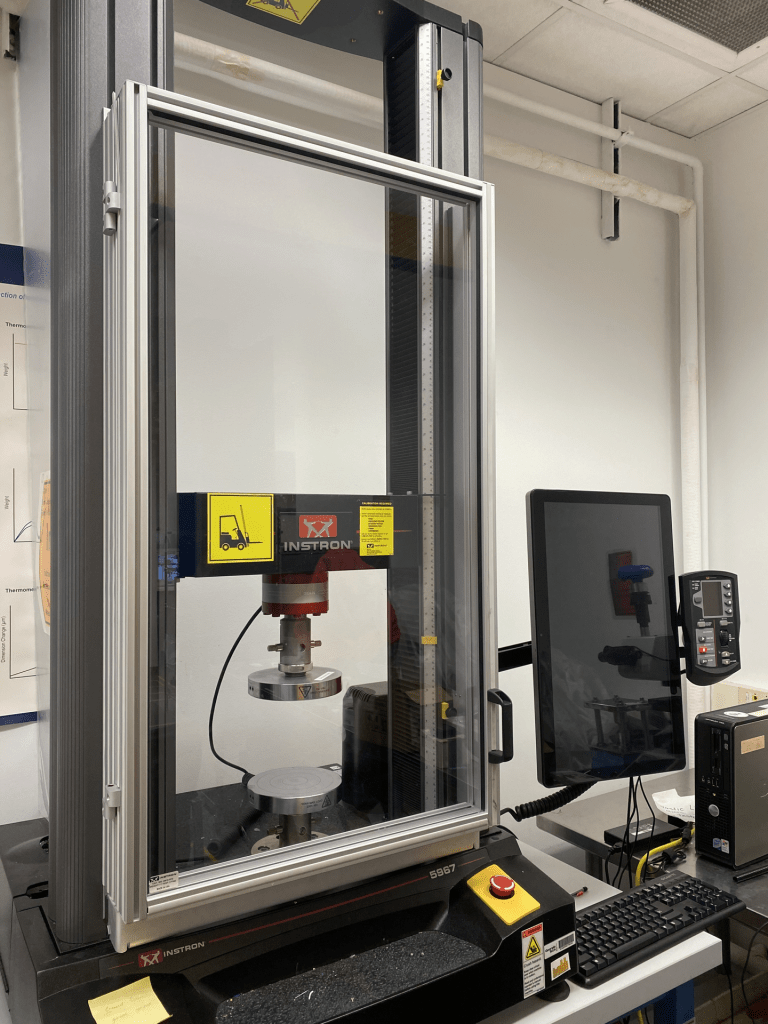
The Instron 5967 is a dual column mechanical testing frame made capable of measurements up to 30 kN. performing custom tensile, compression, and 3-point bending tests. Various grips are located on the shelf adjacent to the testing frame.
The Instron 5967 has a max travel distance of 1.212 m (47.7 in) and max width of 0.418 m.
For more specifications, see our SOP and Wiki pages.
Mark-10 Mechanical Tester
Located in Main Lab (169)
SOP: Mark-10 F505 Mechanical Tester
Wiki: Mechanical Tester
The Mark-10 F505 is a single column mechanical tester capable of measurement applications up to 2200 N (2.2 kN). It uses tensile, compression, cyclic loading, 3-point bending, and peel tests to quantify the stiffness, ultimate tensile strength, toughness, strength, ductility, and brittleness of your samples.
The Mark-10 F505 has a max travel distance of 45.7 cm (18 in).
For more specifications, see our SOP and Wiki pages.

Microhardness Tester
Located in Main Lab (169)
SOP: LECO LM248AT Microhardness Tester
Wiki: Microhardness Tester
Video: User Tutorial (also on the SOP page)
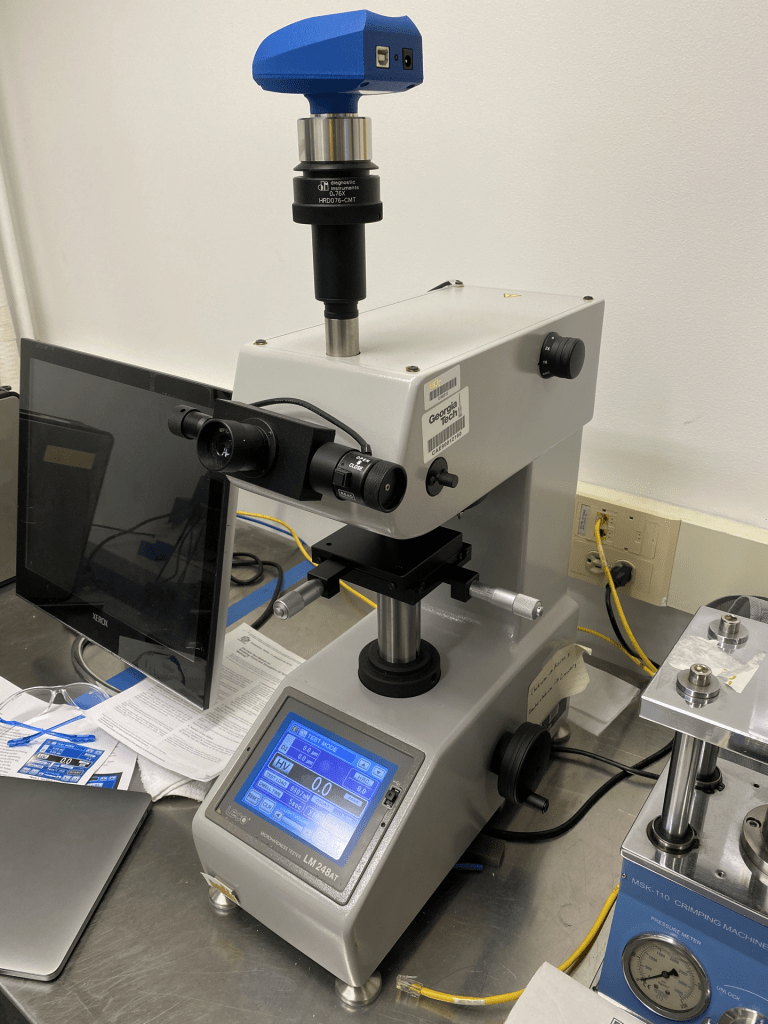
The LECO LM248AT is a microhardness tester that can measure the Knoop and Vickers hardness of the material in local areas. This allows the user to understand how the microhardness of a material varies across different microstructural phases or surface layers. The measured hardness values can then be compared to industry standards to quantify the hardness of the material.
The microhardness tester features 10x and 50x objectives along with Knoop and Vickers indenters.
For more specifications, see our SOP and Wiki pages.
Differential Scanning Calorimeter (DSC)
Located in Main Lab (176)
SOP: Linseis Chip-DSC 10
Wiki: Differential Scanning Calorimeter (DSC)
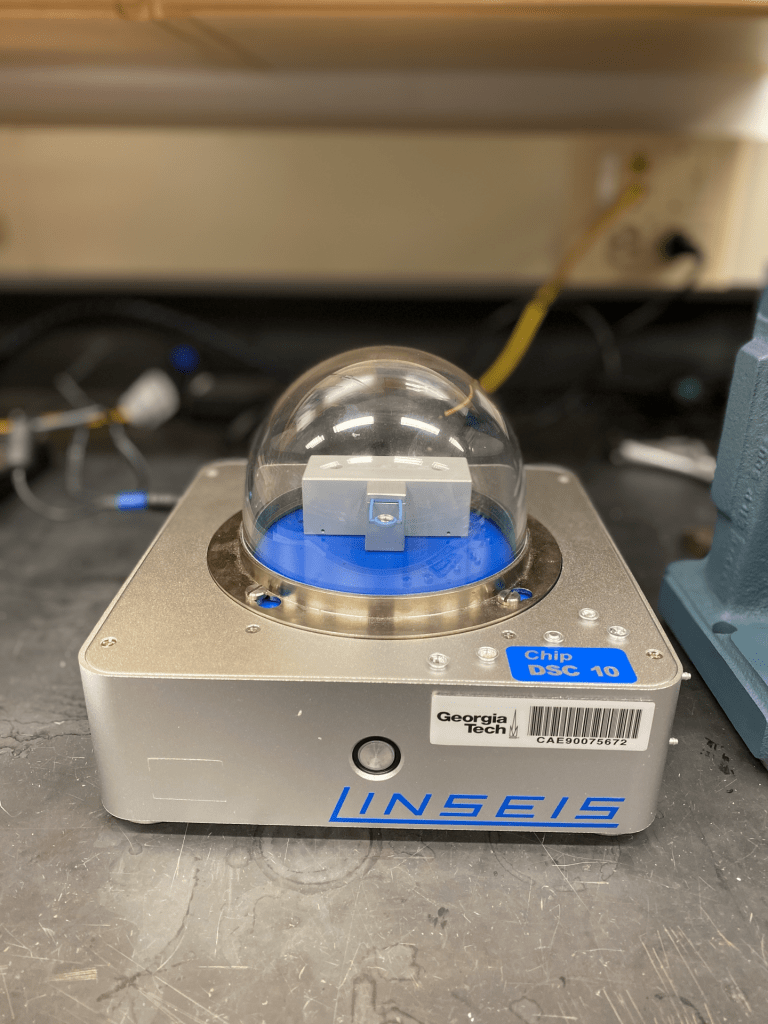
Differential scanning calorimetry (DSC) is a thermoanalytical technique in which the difference in the amount of heat required to increase the temperature of a sample and reference is measured as a function of temperature. It allows for rapid cooling rates without active cooling and can identify crystallization temperatures, enthalpies of transformation, phase transitions, and heat capacities. The Linseis Chip-DSC 10 sensor is calibrated based on the known melting points and latent heats of fusion of In, Sn, Pb, and Zn.
For specifications, see our SOP and Wiki pages.
Thermogravimetric Analyzer (TGA)
Located in Main Lab (176)
Wiki: Thermogravimetric Analyzer (TGA)
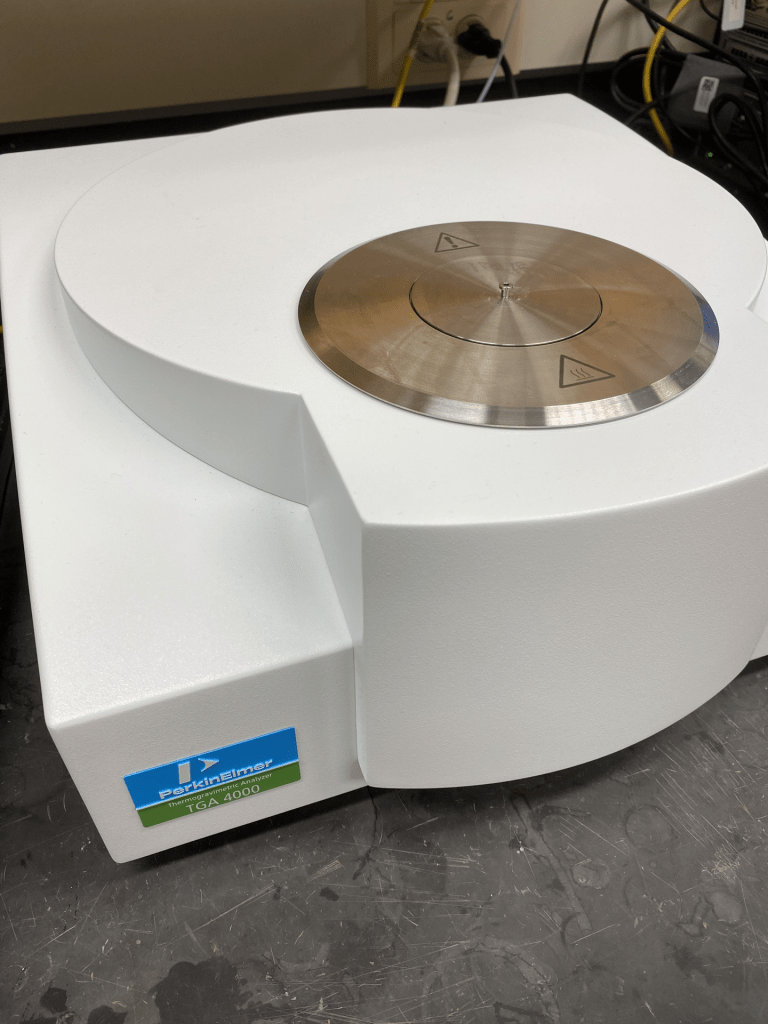
A thermogravimetric analyzer (TGA) uses heat to force reactions and physical changes in materials and provides quantitative measurements of mass change associated with transition and thermal degradation. TGA records changes in a sample’s mass from the dehydration, decomposition, and oxidation of a sample against changes in time and temperature. The characteristic thermogravimetric curves of materials and chemical compounds are given by unique sequences of physicochemical reactions, which occur at specific temperature ranges and heating rates depending on the sample’s molecular structure.
For specifications, see our SOP and Wiki pages.
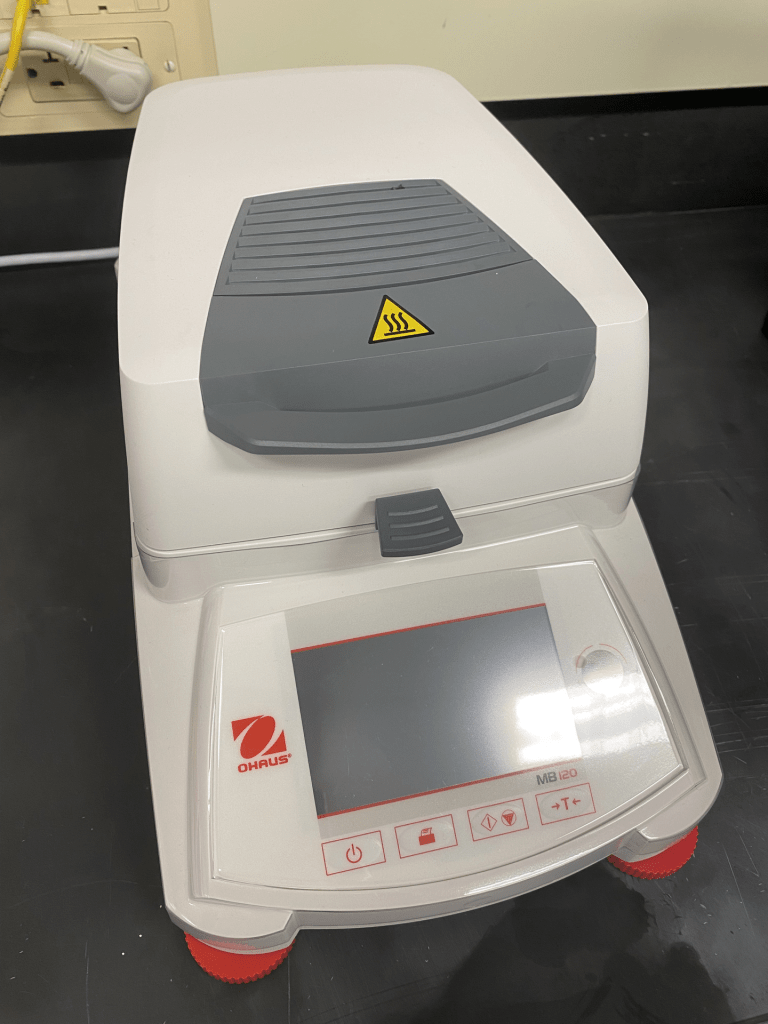
Moisture Analyzer
Located in Main Lab (176)
SOP: OHAUS MB120 Moisture Analyzer
Wiki: Moisture Analyzer
Video: User Tutorial (also on the SOP page)
The OHAUS MB120 Moisture Analyzer measures moisture content in liquid, paste, and solid materials by utilizing a loss on drying (LOD) method. The moisture analyzer weighs a sample, heats it up to dry it, and weighs it again once it’s dry. The weight after drying is subtracted from the weight before and the original moisture content is determined using the difference in mass. The OHAUS MB120 has a mass range of 0.5 – 120 g with 0.1 mg precision.
For more specifications, see our SOP and Wiki pages.
Infrared (IR) Camera
Located in Main Lab (169)
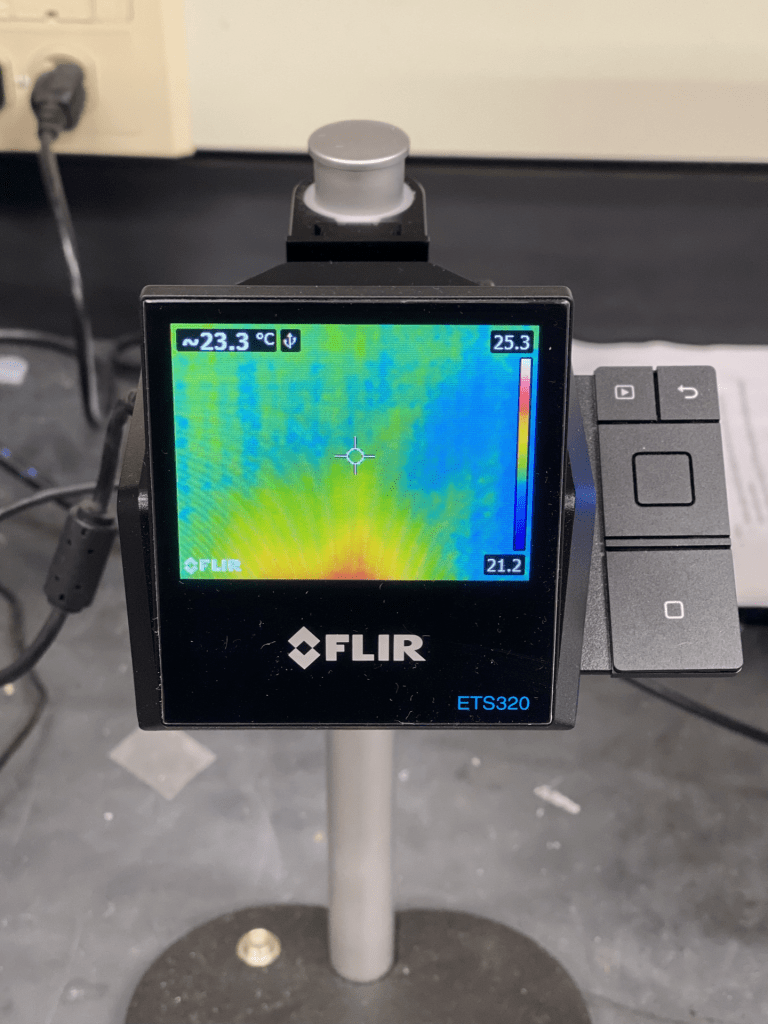
SOP: FLIR ETS320 Infrared Camera
Wiki: Infrared Camera
The FLIR ETS320 Infrared Camera is used for imaging heat transfer in electronic components and monitoring the progress of chemical reactions. Infrared cameras are used for thermal imaging and display the surface temperature of objects in a heat map. It only takes about one-thirtieth of a second for the detector array to obtain the temperature information to make the thermogram, and this information is obtained from several thousand points in the field of view of the detector array.
For specifications, see our SOP and Wiki pages.
UV-Vis Spectrophotometer
Located in Main Lab (169)
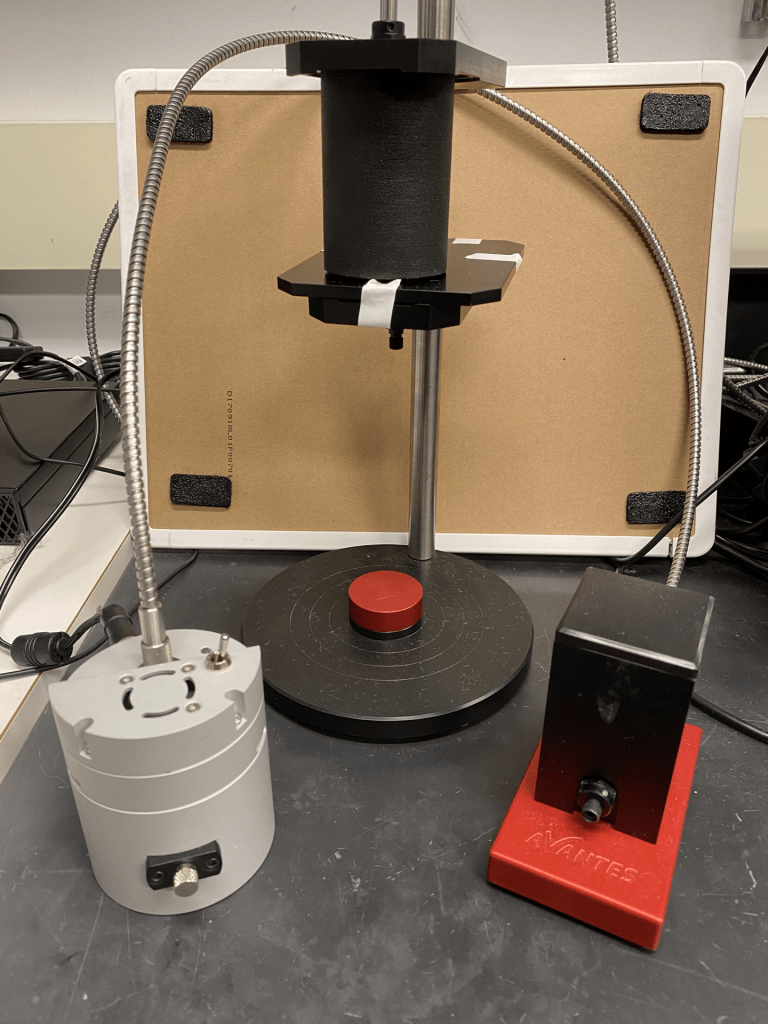
SOP: Avantes UV-Vis Spectrophotometer
Wiki: UV-Vis Spectrophotometer
Video: User Tutorial (also on the SOP page)
The Avantes UV-Vis Spectrophotometer allows you to measure the reflection, irradiance, transmission, and absorption spectra of materials. It has three different source setups to accommodate liquid, powder, and solid samples. It can measure peak absorbance wavelengths and perform colorimetry experiments. PMMA and quartz cuvettes are available for solution testing.
For specifications, see our SOP and Wiki pages.
Contact Angle Goniometer
Located in Main Lab (169)
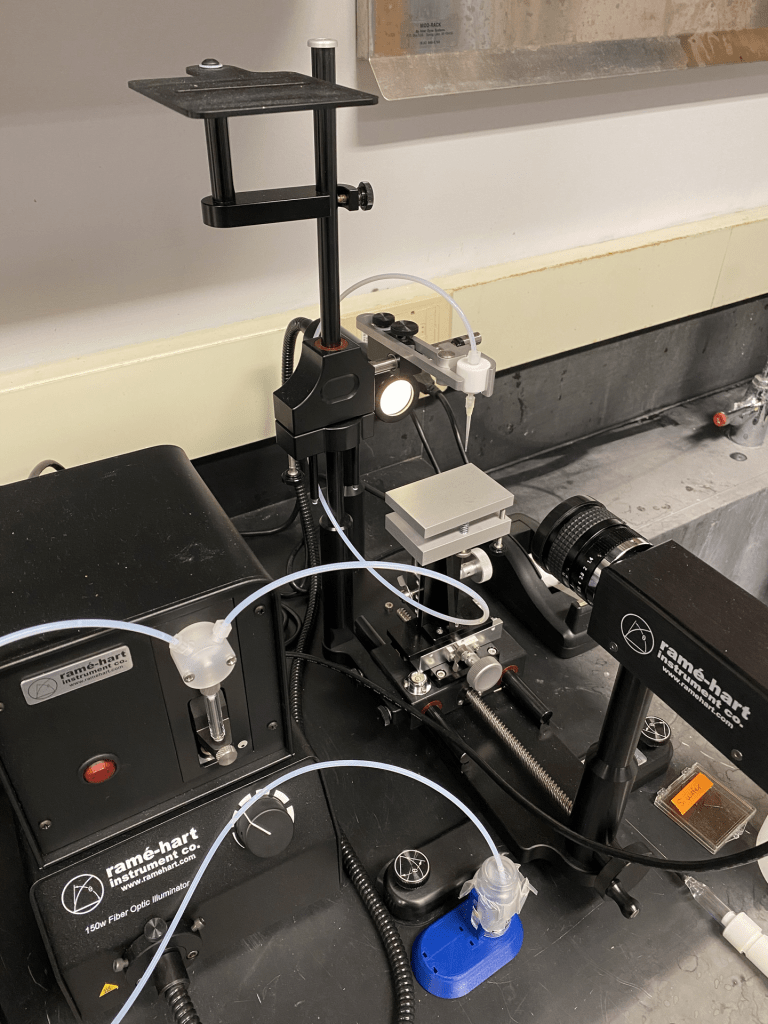
SOP: ramé-hart Contact Angle Goniometer
Wiki: Contact Angle Goniometer
Video: User Tutorial (also on the SOP page)
The ramé-hart Contact Angle Goniometer (model 210) is primarily used to measure the contact angle of water and other liquids, which is defined as the angle formed by a liquid when in contact with a solid surface. The instrument uses DROPimage Pro software to determine the contact angle from the shadow image of the drop placed on the stage.
For specifications, see our SOP and Wiki pages.
Analytical Balance
Located in Main Lab (176) & Ceramics Lab (369)
SOP: VWR Analytical Balance (includes Archimedes method)
Wiki: Analytical Balance
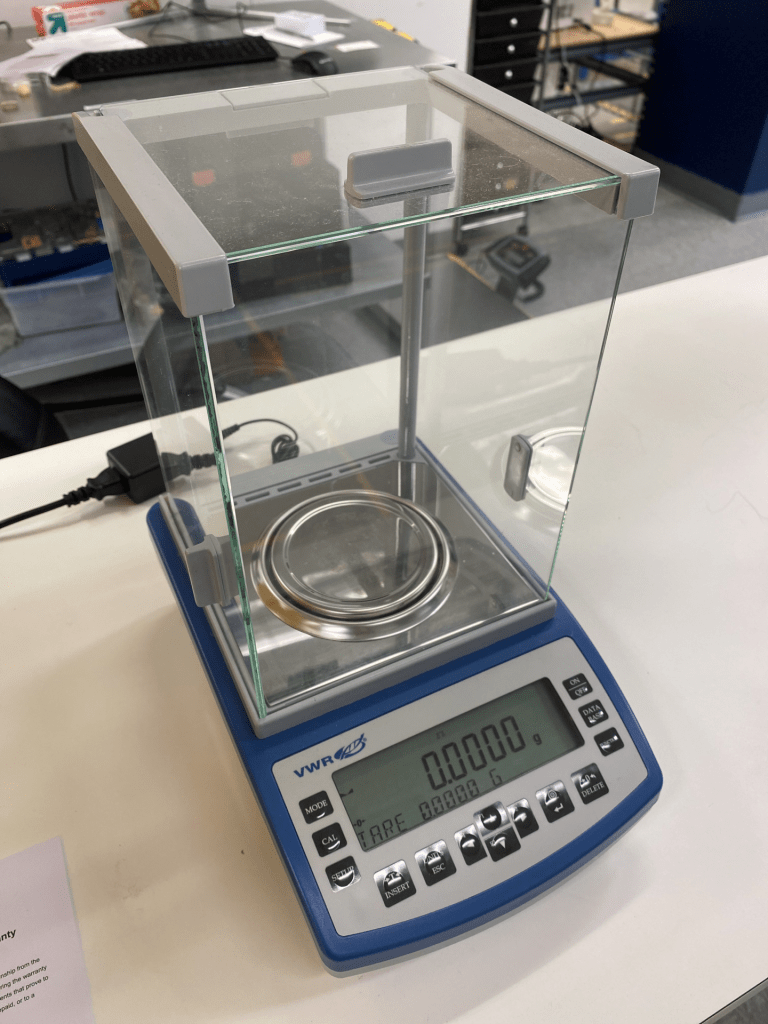
Analytical balances provide the best weighing performance and are used for the accurate weighing of samples and precipitates. They are a class of balance designed to measure small masses in the sub-milligram range to high precision, accounting for temperature and humidity correction. VWR’s balances can be used for density determination by the Archimedes method and for mass over time measurements.
The VWR-164AC has a mass range of 10 mg – 160 g with 0.1 mg precision.
For more specifications, see our SOP and Wiki pages.
Viscometer
Located in Main Lab (176)
SOP: Brookfield DV2T Viscometer
Wiki: Coming Soon
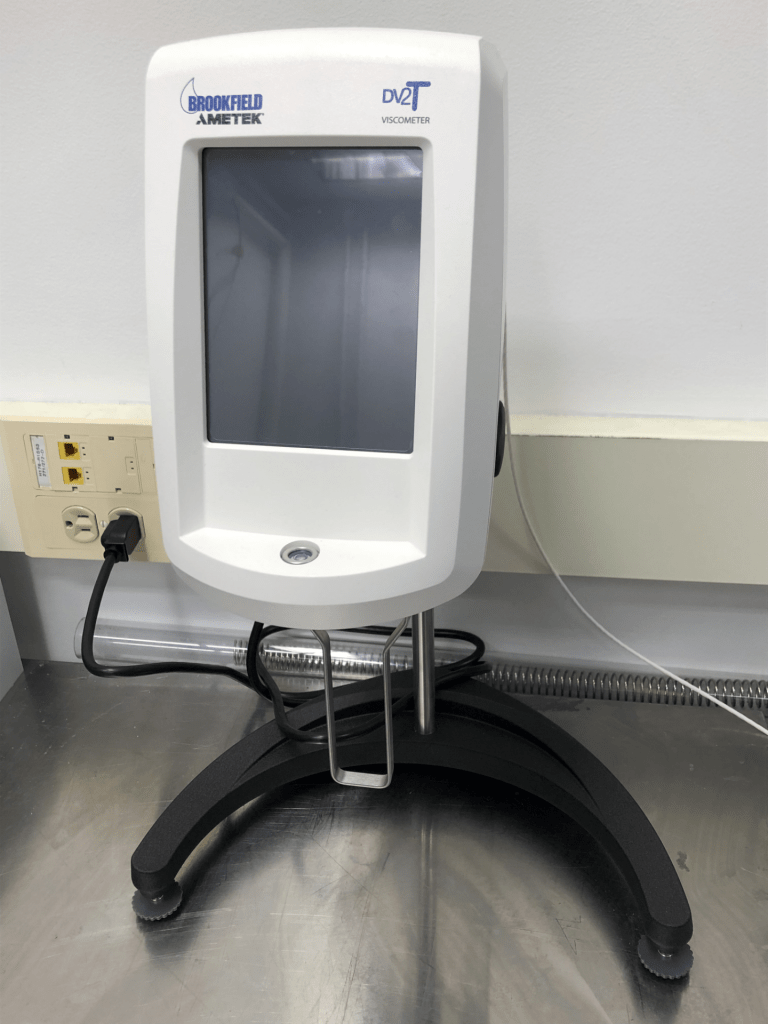
The Brookfield DV2T Viscometer uses a rotating spindle to measure the viscous drag and shear stress of the fluid of interest, allowing the user to measure the viscosity of various fluids within the range of 15-6,000,000 cP. Interchangeable spindles alter the maximum range measurable for the particular test and are in the black plastic case below the tabletop.
For more specifications, see our SOP and Wiki pages.
Pycnometer
Located in X-Ray Room (170)
SOP: AccuPyc II 1345 Gas Displacement Pycnometer
Wiki: Coming Soon
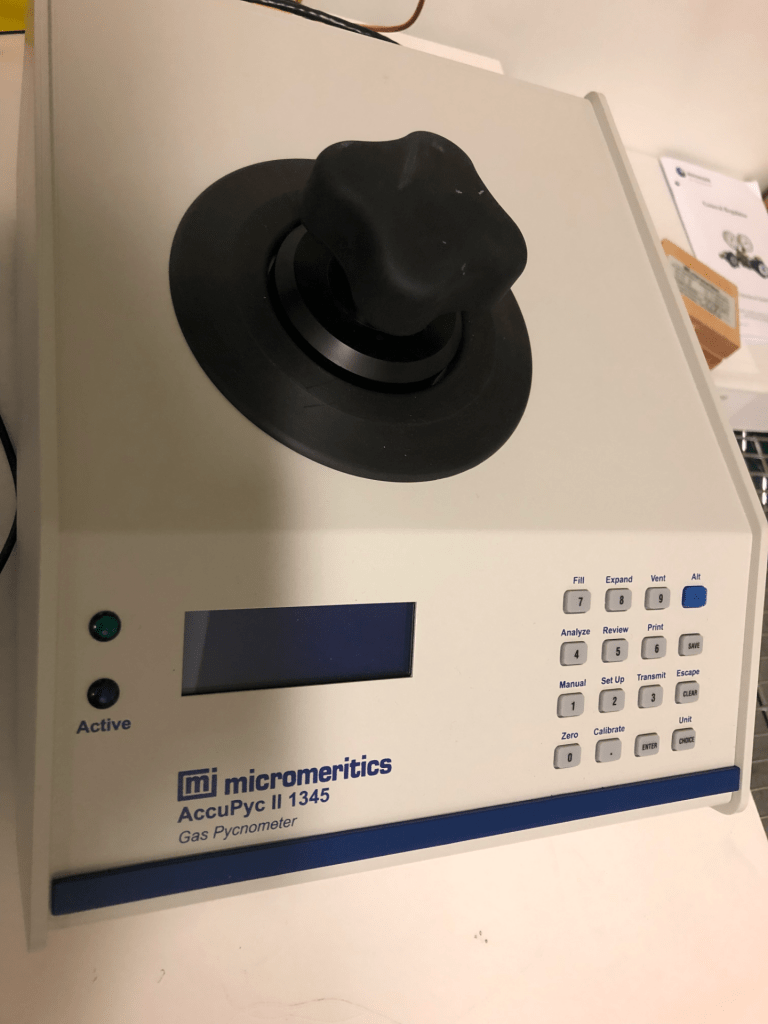
The gas displacement pycnometer provides high-speed, high-precision volume measurements and accurate density calculations on a wide variety of powders, solids, and slurries, with minimum operation needed. Ultra-high purity Helium gas (99.995%) is used for displacement and volume measurements. Sample chambers are located on the shelf next to the pycnometer.
For more specifications, see our SOP and Wiki pages.
Abrasion Tester
Located in Main Lab (169)
SOP: Taber Rotary Platform Abrasion Tester
Wiki: Coming Soon
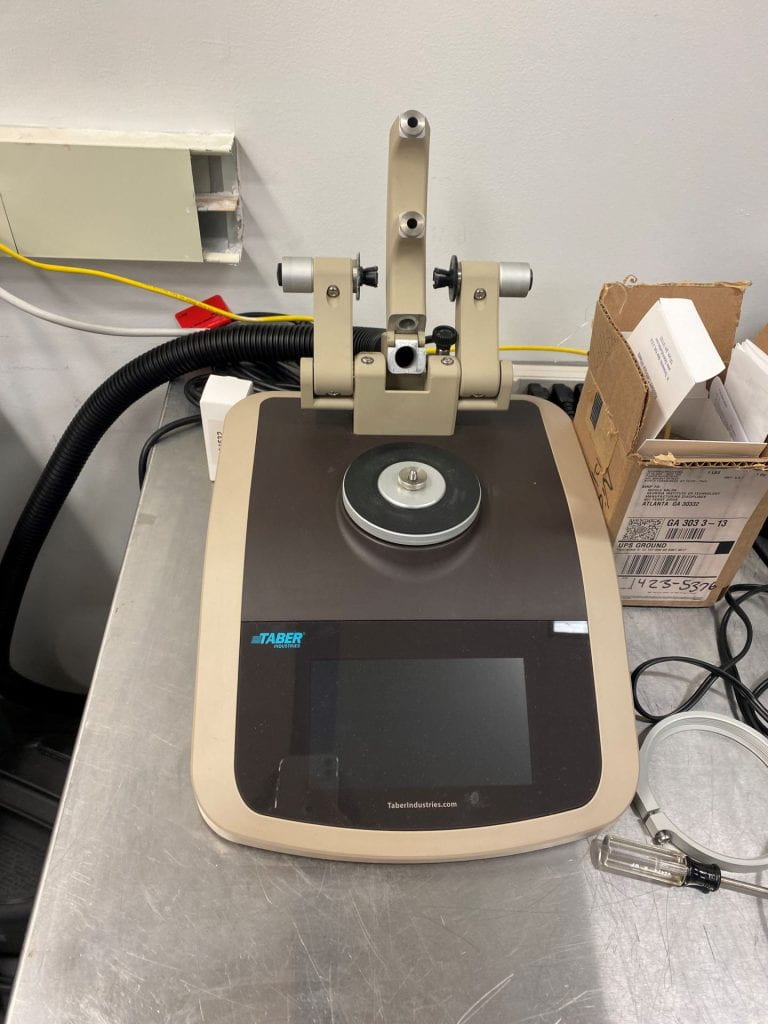
The purpose of an abrasion tester is to perform accelerated wear testing. This machine produces characteristic rub-wear action through contact between the test sample and 2 abrasive wheels. The results from this machine can be evaluated through several methods including mass loss, cycles to a specific end point, taber wear index, volume loss, depth of wear, and average breaking strength (textile fabrics).
For more specifications, see our SOP and Wiki pages.
Squidstat
Located in Main Lab (169)
SOP: Admiral Instruments Squidstat Plus
Wiki: Coming Soon
The Admiral Instruments Squidstat Plus Potentiostat is primarily used to test the galvanostatic, potentiostatic, and impedance properties of batteries, capacitors, and other materials for electronics. It can also be used to perform a wide array of tests including potentiostatic and galvanostatic electrochemical impedance spectroscopy (PEIS and GEIS).
For more specifications, see our SOP and Wiki pages.

Sonicator
Located in Main Lab (174)
Wiki: Coming Soon
The M2800 Branson Sonicator allows users to agitate particles submerged in liquid samples through use of ultrasonic soundwaves. This can be used in a variety of processes such as cleaning, mixing, degassing, or homogenization for sample preparation.
For more specifications, see our SOP and Wiki pages.

Homogenizer
Located in Main Lab (174)
SOP: Pulse 150 Ultrasonic Homogenizer
Wiki: Coming Soon
The homogenizer uses high frequency soundwaves (20kHz-1MHz) to mix solutions. The sample is placed within the transducer, so that the tip of the horn is submerged 1-3 cm within the sample. It can accommodate liquid-solid solutions, and liquid-liquid solutions, but the viscosity must be relatively similar to water. Anything more viscous than maple syrup will not function.
For more specifications, see our SOP and Wiki pages.

Fumehood
Located in Main Lab (174)
Wiki: Coming Soon
The fumehood is located in the MILL’s main lab. Hazardous materials to be used in this fumehood must be approved by staff prior to use. All hazardous waste must be removed by users after its production, and users must provide their own containers for this waste.
Samples/materials that are to be stored in the fumehood for longer than 4 hours unattended must be approved by staff, and multi-day samples/materials must be approved beforehand via a request in the Chemical Storage Request Form. The fumehood should be fully closed when not in use.
For more specifications, see our Wiki page.

